
MIPORE / MIPO-CAT
Mipo-Cat First-Time Setup Guide
From the 6-digit code to online setup, settings sync, and firmware updates
Start setup↓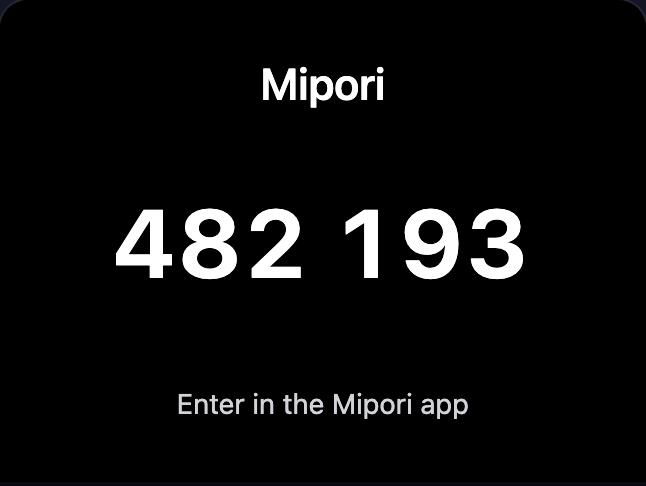
- 01Preparation and BOOT safety
- 02Connection code and encrypted Bluetooth
- 03Wi-Fi and Local Gateway
- 04Post-setup sync and firmware update
- 05Recovery and re-pairing
Based on the current project source and UI as of 2026-09-01
01 · Preparation
Before you start
Prepare the computer, robot, and network first to avoid the most common interruptions.
You need
- A working installation of the Mipore desktop app.
- A powered Mipo-Cat running the current firmware.
- Bluetooth enabled on the computer, with Bluetooth permission granted to Mipore.
- The name and password of a 2.4 GHz Wi-Fi network; ESP32-S3 cannot join a 5 GHz-only network.
- A network where the computer and robot can reach each other locally; keep Mipore open during setup.
Pre-flight checks
- Keep the robot close to the computer, preferably within 1-2 meters.
- Avoid hotel, campus, or guest Wi-Fi that requires a web login.
- For a hidden SSID, be ready to type the exact network name.
- Disable client/AP isolation that blocks local devices from reaching one another.
- Treat the connection code as temporary pairing material and do not share your real code.
02 · BOOT
Important: BOOT is a directional push-button
An internal rocker actuates the tactile switch. Pressing in the wrong direction may not work and can damage the mechanism.
CORRECT: press from screen side toward rear
- 1
Find the BOOT button below the USB-C/Type-C port
- 2
Screen side is FRONT; back shell side is REAR
- 3
Short press: toggle Awake/Sleep; while an alarm rings, stop it
- 4
Press front to back for 5 seconds: re-pair and show a new code
03-07 · Pairing
Power on and read the code
An unpaired robot, a robot with a cleared binding, or a robot recovering from failed setup shows a 6-digit code and advertises over Bluetooth.
Step 1 - Power on and read the code
An unpaired robot, a robot with a cleared binding, or a robot recovering from failed setup shows a 6-digit code and advertises over Bluetooth.
Actions
- Connect stable power and wait for Mipo-Cat to finish starting.
- When the screen shows Mipore and six digits, note all six digits. The space is only for readability.
- If no code appears, use the BOOT button below the USB-C/Type-C port: with the screen side as front, press from front to back, hold 5 seconds, release, and wait for a new code.
- Do not power off the robot or move it away from the computer during this stage.
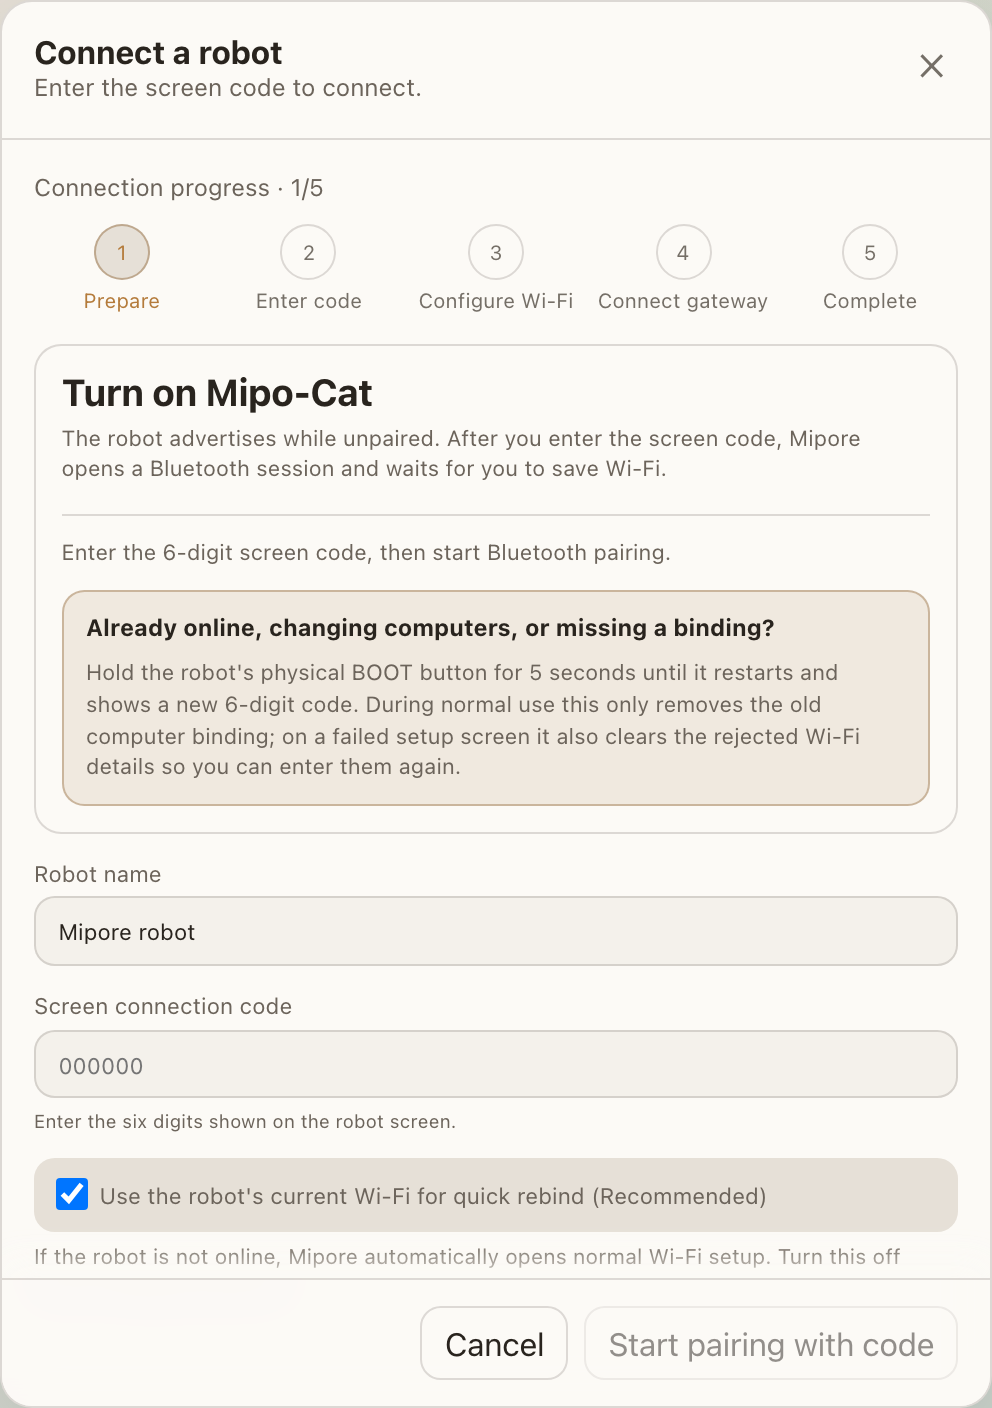
Open Mipore and go to Settings > Robots. If there is no connected device, choose Discover/Connect robot; otherwise choose Add robot. The setup dialog is titled “Connect a robot.”
Step 2 - Enter the code and open encrypted Bluetooth
Mipore does not auto-scan. Bluetooth pairing starts only after you enter a valid six-digit code and continue.
What to do
- Optionally name the robot; the name does not affect connectivity.
- Type the six digits into Screen connection code without the display space.
- Normally keep Use the robot's current Wi-Fi selected. A first-time robot automatically proceeds to regular Wi-Fi setup.
- Choose Start pairing with code. If macOS or Windows asks for Bluetooth permission or device selection, select the matching Mipo-Cat.
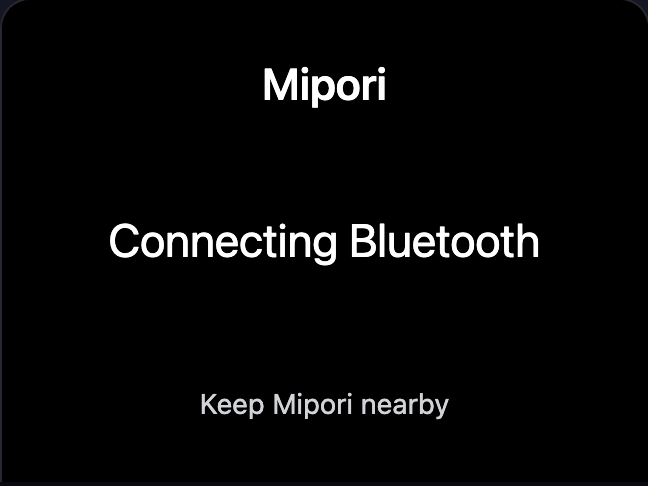
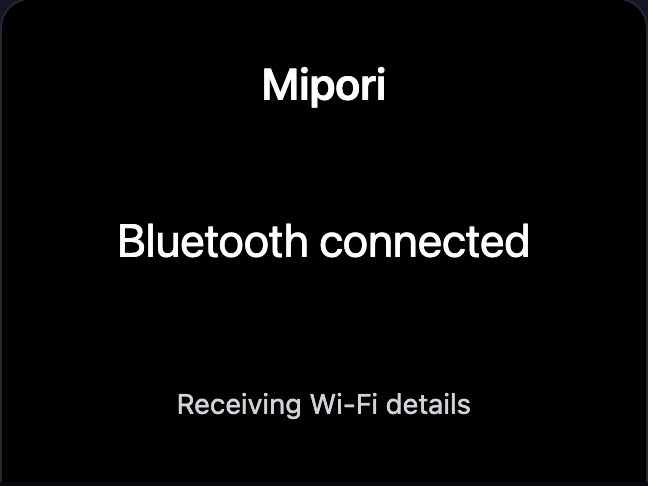
- The robot progresses through Connecting Bluetooth and Bluetooth connected / Receiving Wi-Fi details.
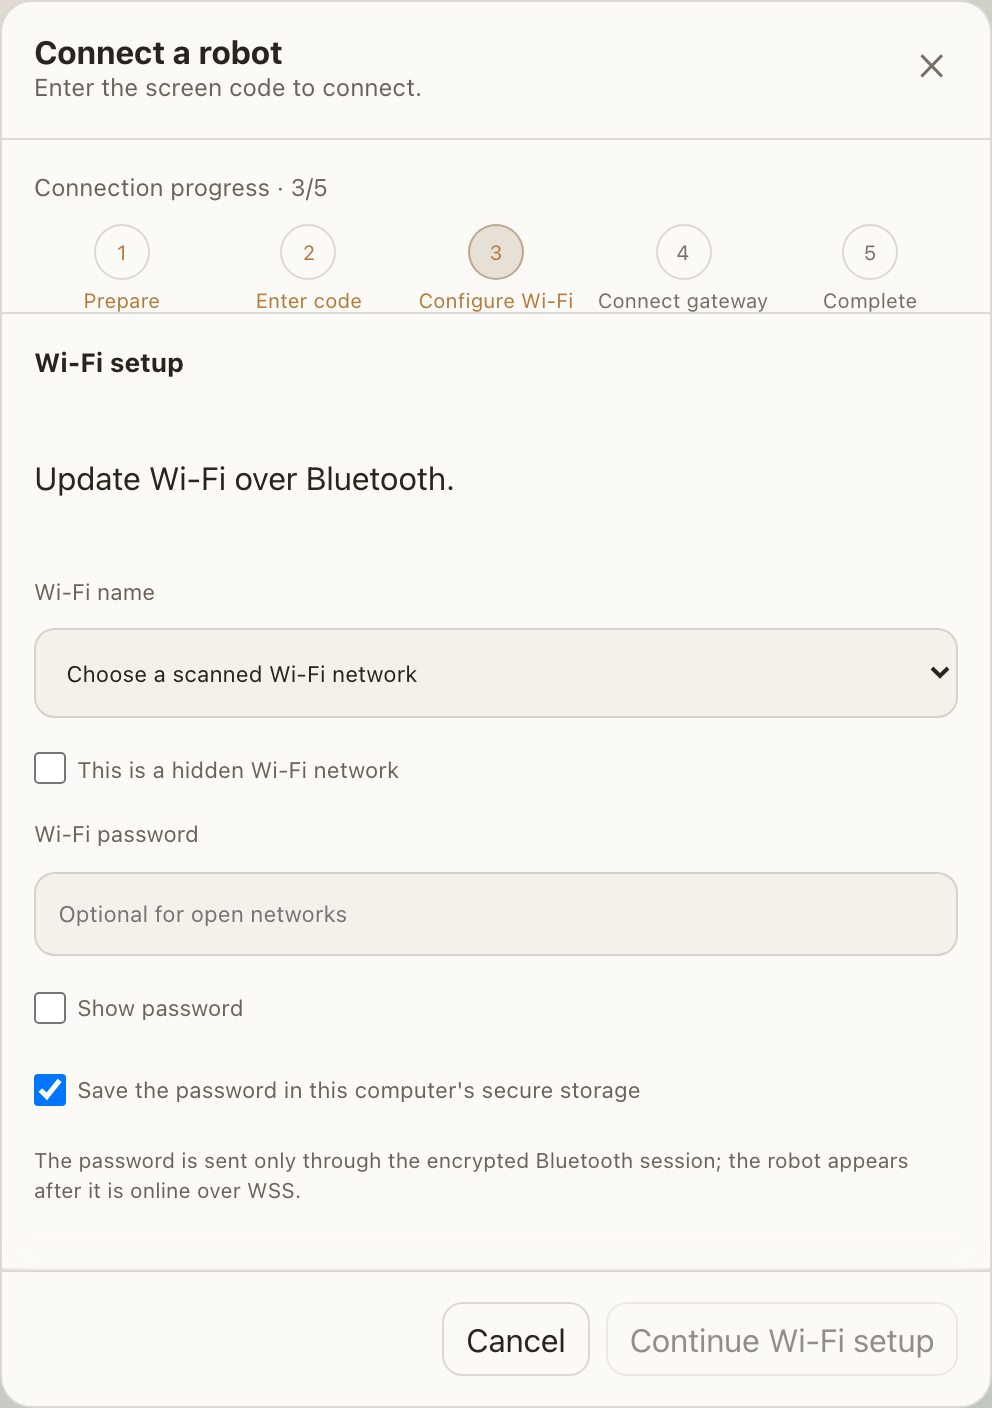
Step 3 - Choose 2.4 GHz Wi-Fi
After Bluetooth verification, Mipore reads nearby networks from the robot and sends credentials through the same encrypted Bluetooth session.
Input sequence
- Choose the scanned 2.4 GHz network under Wi-Fi name. For a hidden network, select the hidden-network option and type the SSID exactly.
- Enter the password; leave it blank only for an open network. Show password can help verify characters before submission.
- Optionally keep Save the password in this computer's secure storage for future network changes or recovery.
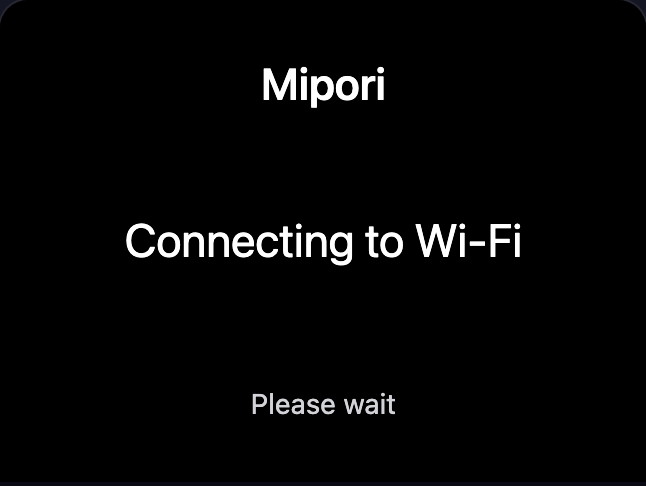
- Choose Continue Wi-Fi setup. Keep Mipore open and prevent the computer from sleeping.
Step 4 - Wait for the secure Local Gateway handoff
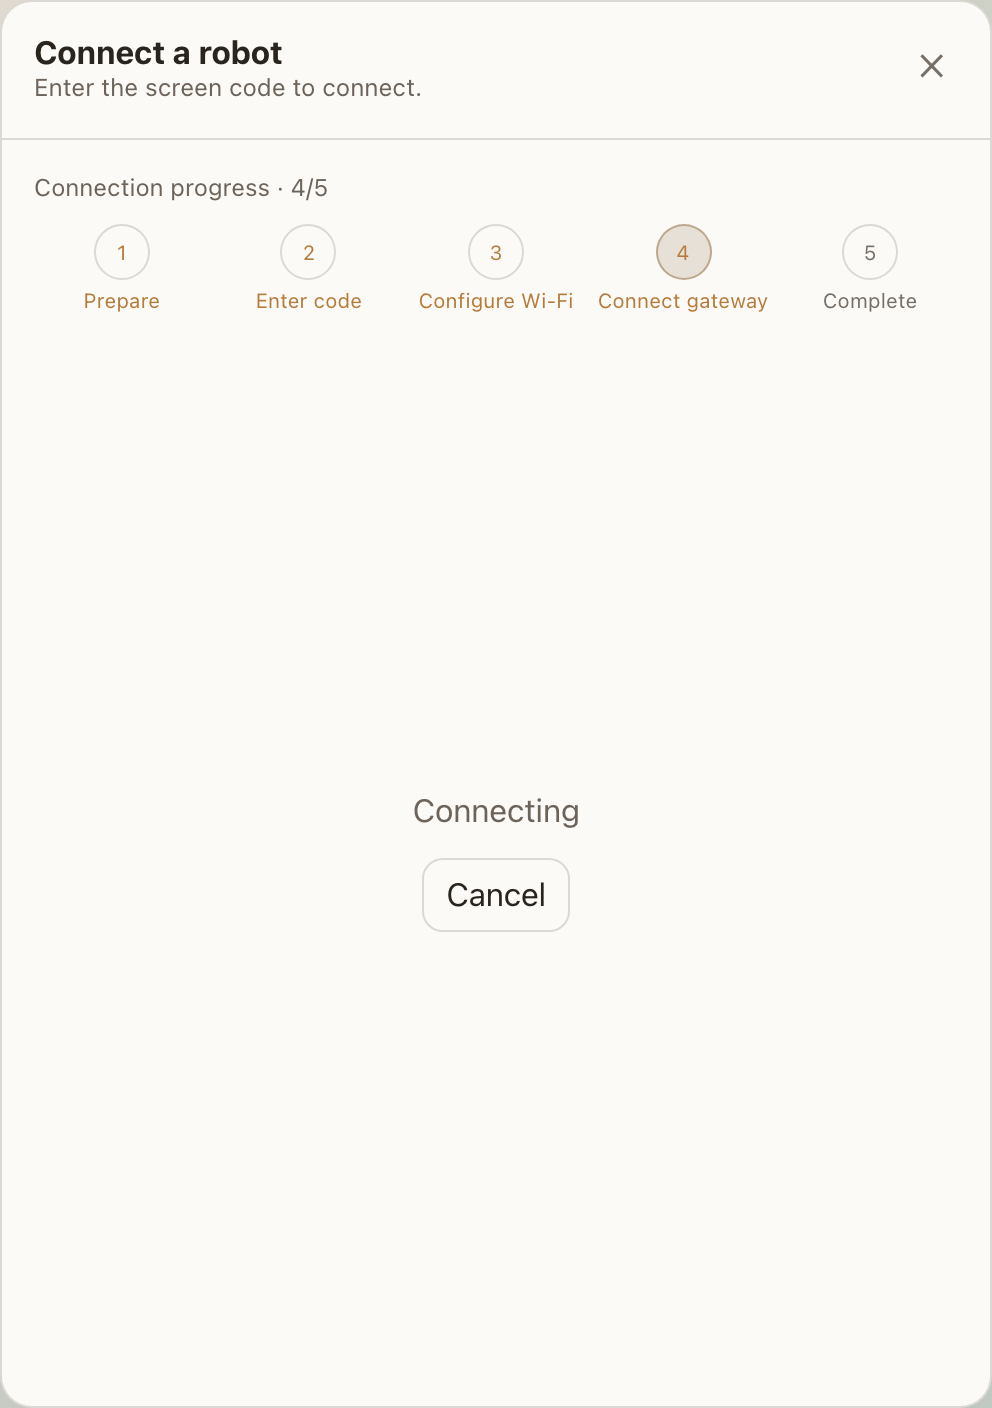
After Wi-Fi succeeds, the robot establishes a secure WSS session with the Mipore Local Gateway on the computer.
What to do now
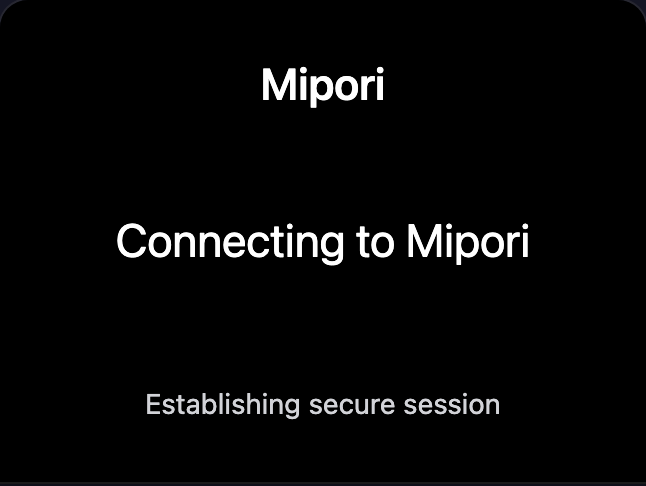
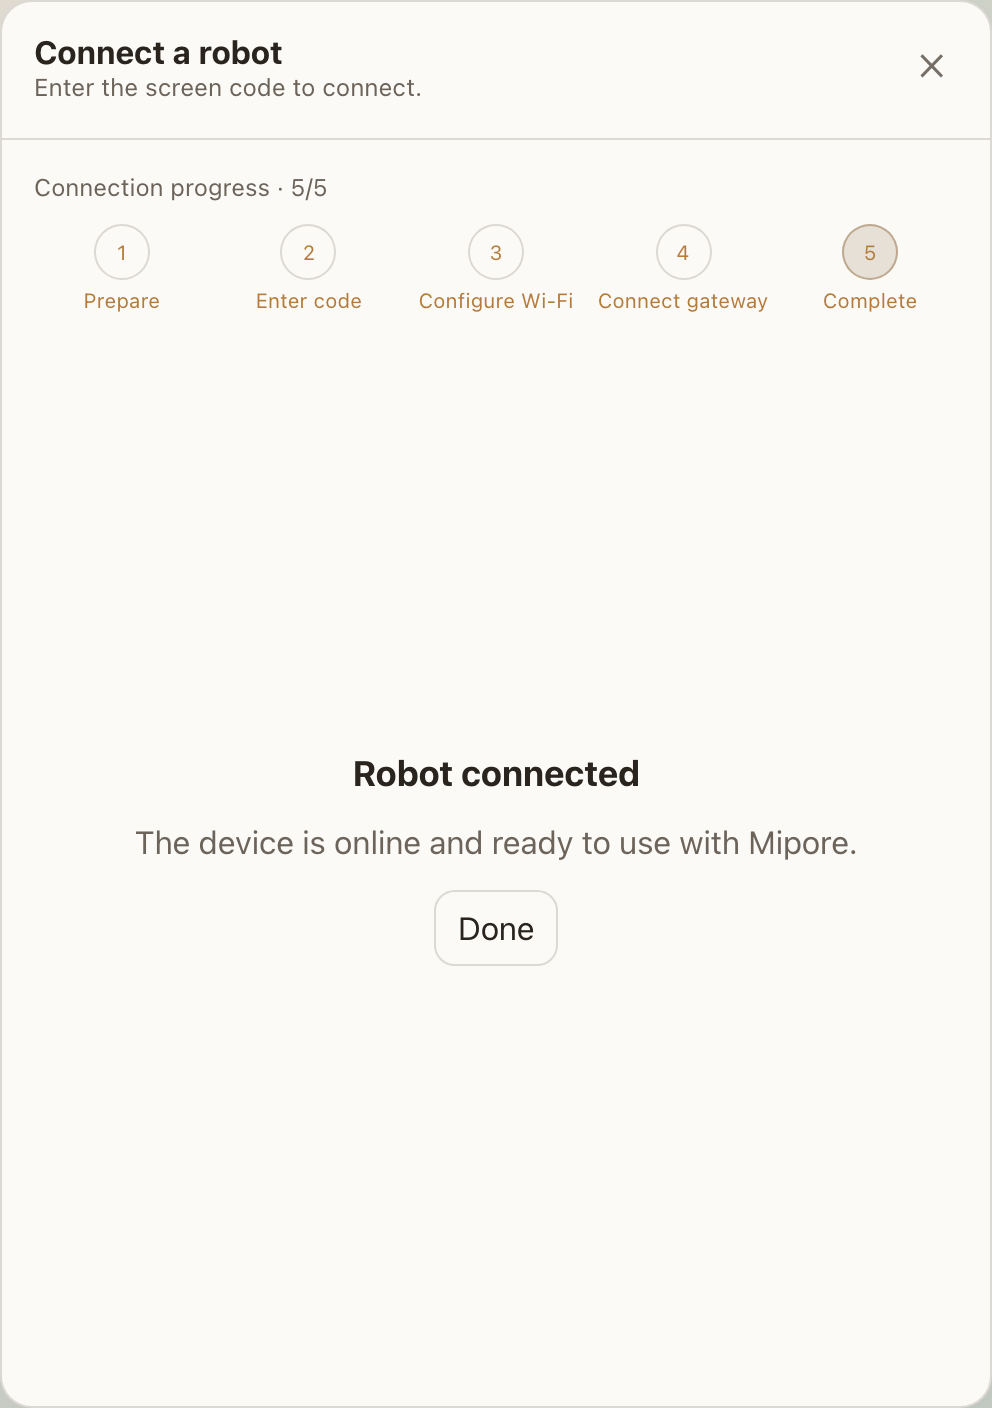
- Mipore enters 4/5 Connect gateway, while the robot shows Connecting to Mipore / Establishing secure session.
- The computer and robot must reach each other on the same LAN; Bonjour/mDNS and the local firewall must allow the connection.
- This can take several seconds and, on a slower network, up to about one minute. Keep the app, Bluetooth, and Wi-Fi available.
- Cancel during this step returns to Wi-Fi while preserving a recoverable Bluetooth session, so you can submit again.
Step 5 - Finish and verify the robot is online
After Mipore reaches 5/5, confirm the full setup with the device list and one real interaction.
Completion checklist
- Mipore displays Robot connected; choose Done.
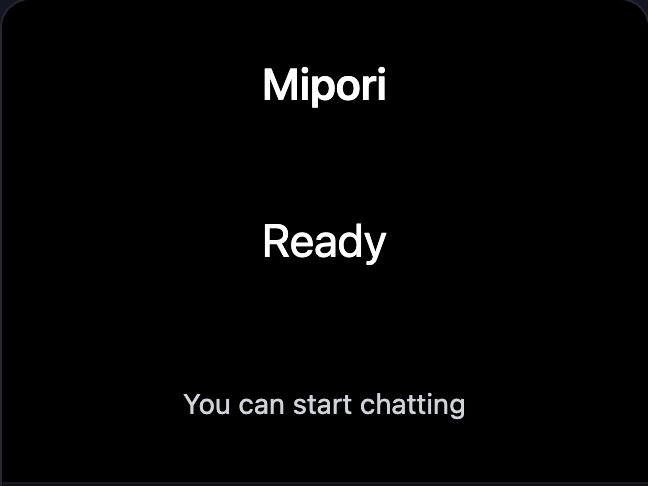
- The robot briefly shows Ready / You can start chatting, then returns to its normal expression screen.
- The device appears as Online under Settings > Robots.
- Optional: start a short conversation or change volume to confirm two-way Gateway control.
- If the dialog says complete but the list remains offline, wait 30 seconds and check the LAN/firewall before clearing any binding.
08 · STATUS
Complete robot-screen timeline
These screens come from the firmware-backed expression preview and advance on real provisioning events.
09-10 · Settings & firmware
After setup: sync Mipo device settings
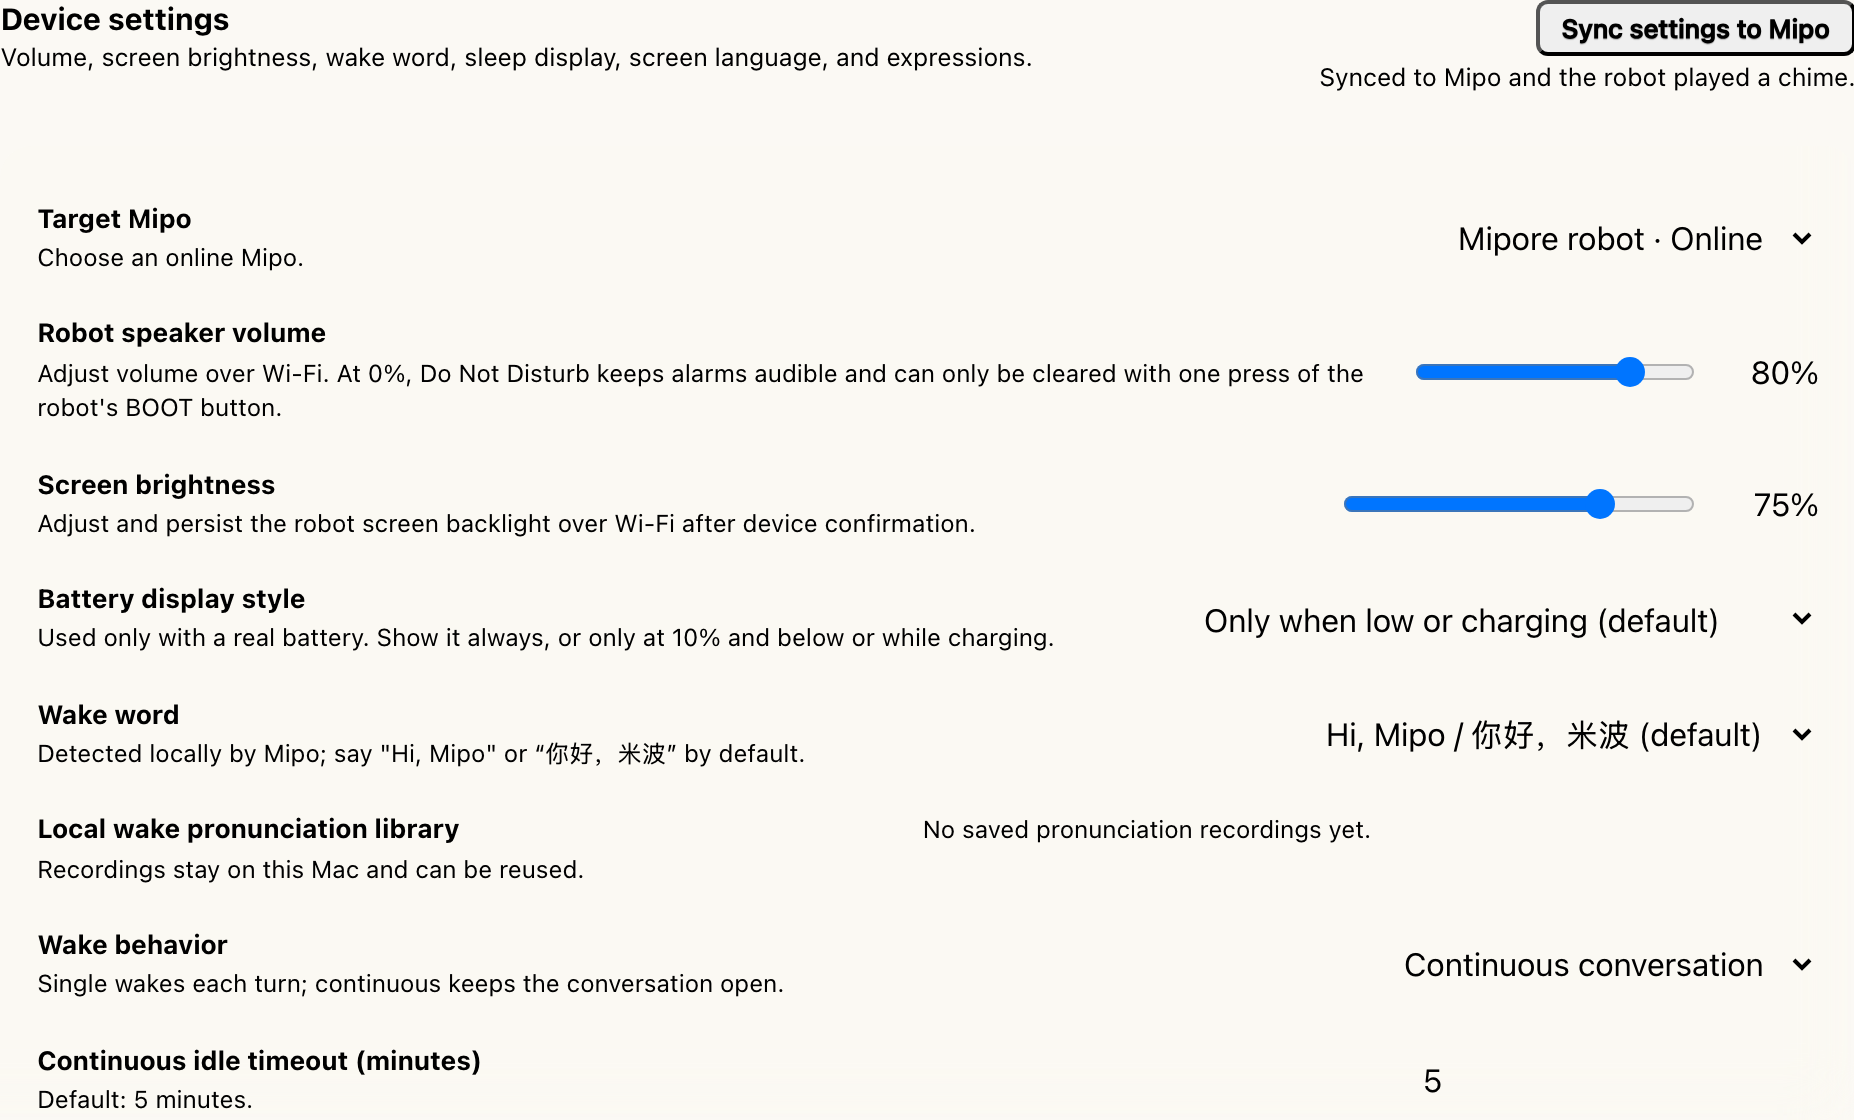
Once the robot is online, Mipo device settings can send the common hardware options in one Wi-Fi sync.
1 Select the online Mipo
Open Settings > Mipo device settings and choose the robot marked Online under Target Mipo.
2 Adjust common options
Set speaker volume, screen brightness, battery display, wake word, wake behavior, and sleep display.
3 Start the sync
Choose Sync settings to Mipo. Keep Mipore running and keep both devices on the same Wi-Fi.
4 Confirm completion
Wait for the Synced to Mipo message and the robot chime. If it fails, retry; some settings may already be applied.
10 · FIRMWARE
Mipo firmware update: check, install, and restart
Firmware update runs separately. Keep Mipo online and connected to stable USB-C/Type-C power before starting.
Install and verify
- 1
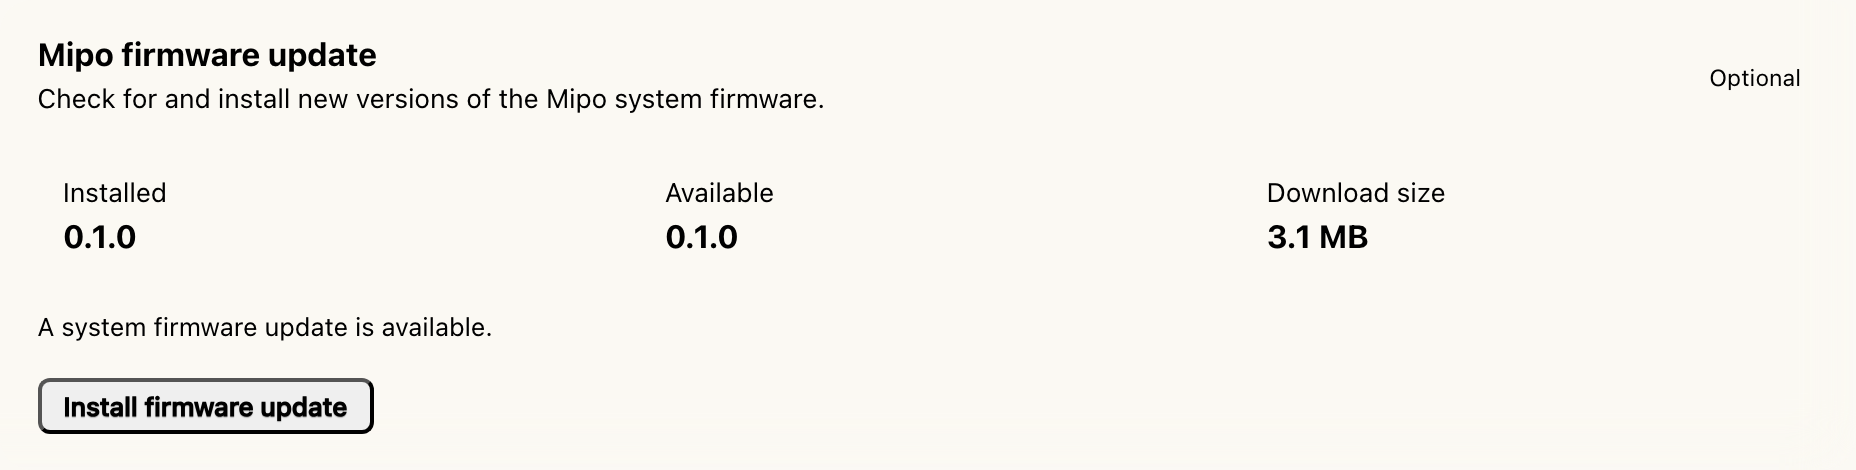
At the bottom of Settings > Mipo device settings, find Mipo firmware update and check Installed, Available, Download size, and status.
- 2
Choose Install firmware update. The button changes to Verifying and installing. Do not quit Mipore, unplug power, restart Mipo, or operate BOOT during the update.
- 3
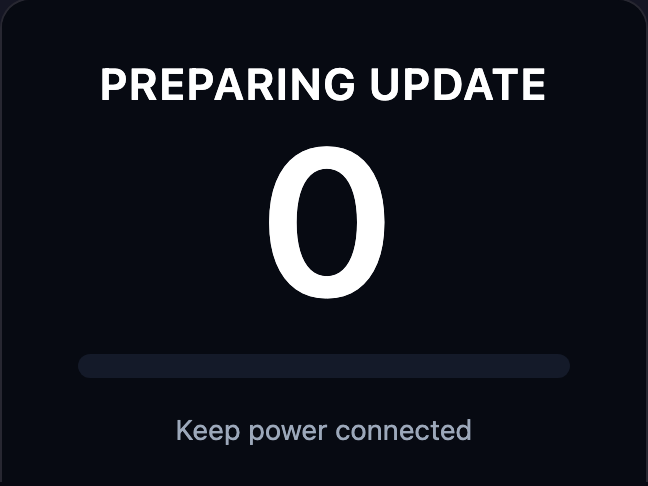
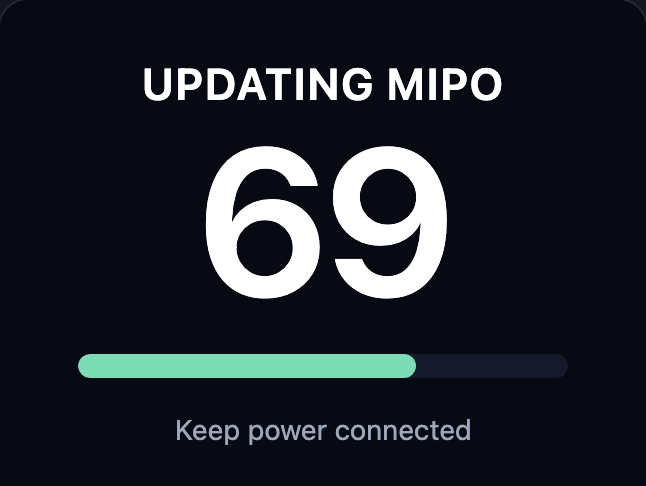
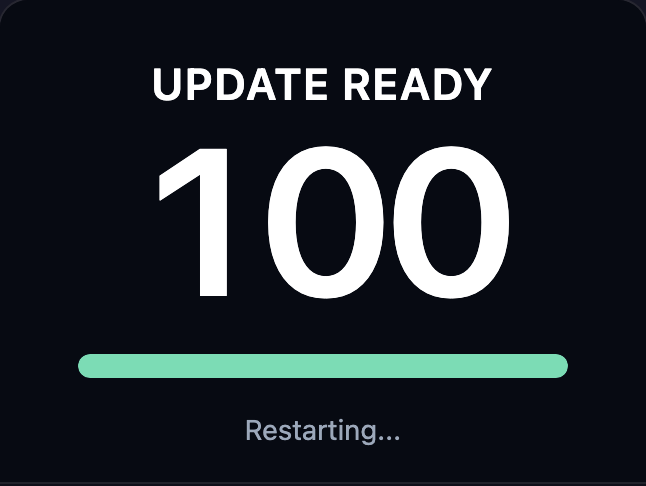
The robot shows preparation, percentage progress, and update completion, then restarts automatically. A short offline period during restart is normal.
- 4
Wait for Mipo to return Online and for Mipore to report success with a robot chime. Language or expression-pack changes take effect after this restart.
11-13 · Recovery
Wi-Fi failure: retry in place without re-entering the code
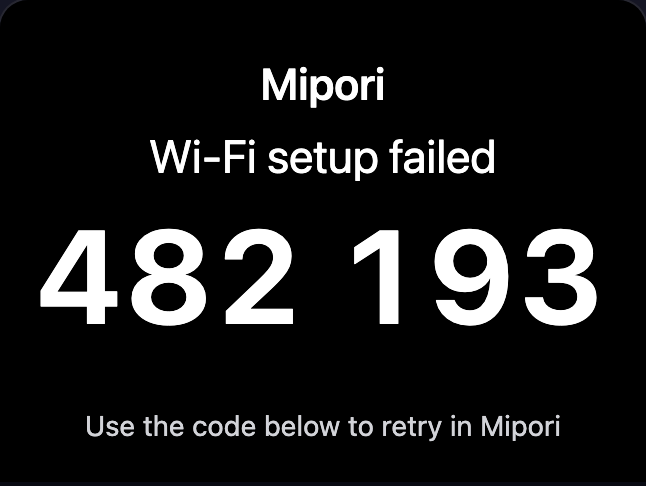
For wrong passwords, missing networks, DHCP failures, or timeouts, firmware keeps setup in a secure recoverable state.
Resolve by error type
- Wrong password: re-enter it and check case, spaces, and special characters.
- Network not found: confirm 2.4 GHz, visible SSID, and adequate coverage at the robot.
- DHCP failure: restart the router or check whether its address pool is exhausted.
- Timeout: move the robot closer to the router and avoid a weak or rapidly changing signal.
- Mipore returns to step 3 so you can edit and resubmit in the same Bluetooth session.
12 · BLUETOOTH / GATEWAY
Bluetooth, code, and Gateway troubleshooting
Diagnose from the current screen first so you do not clear Wi-Fi or pairing unnecessarily.
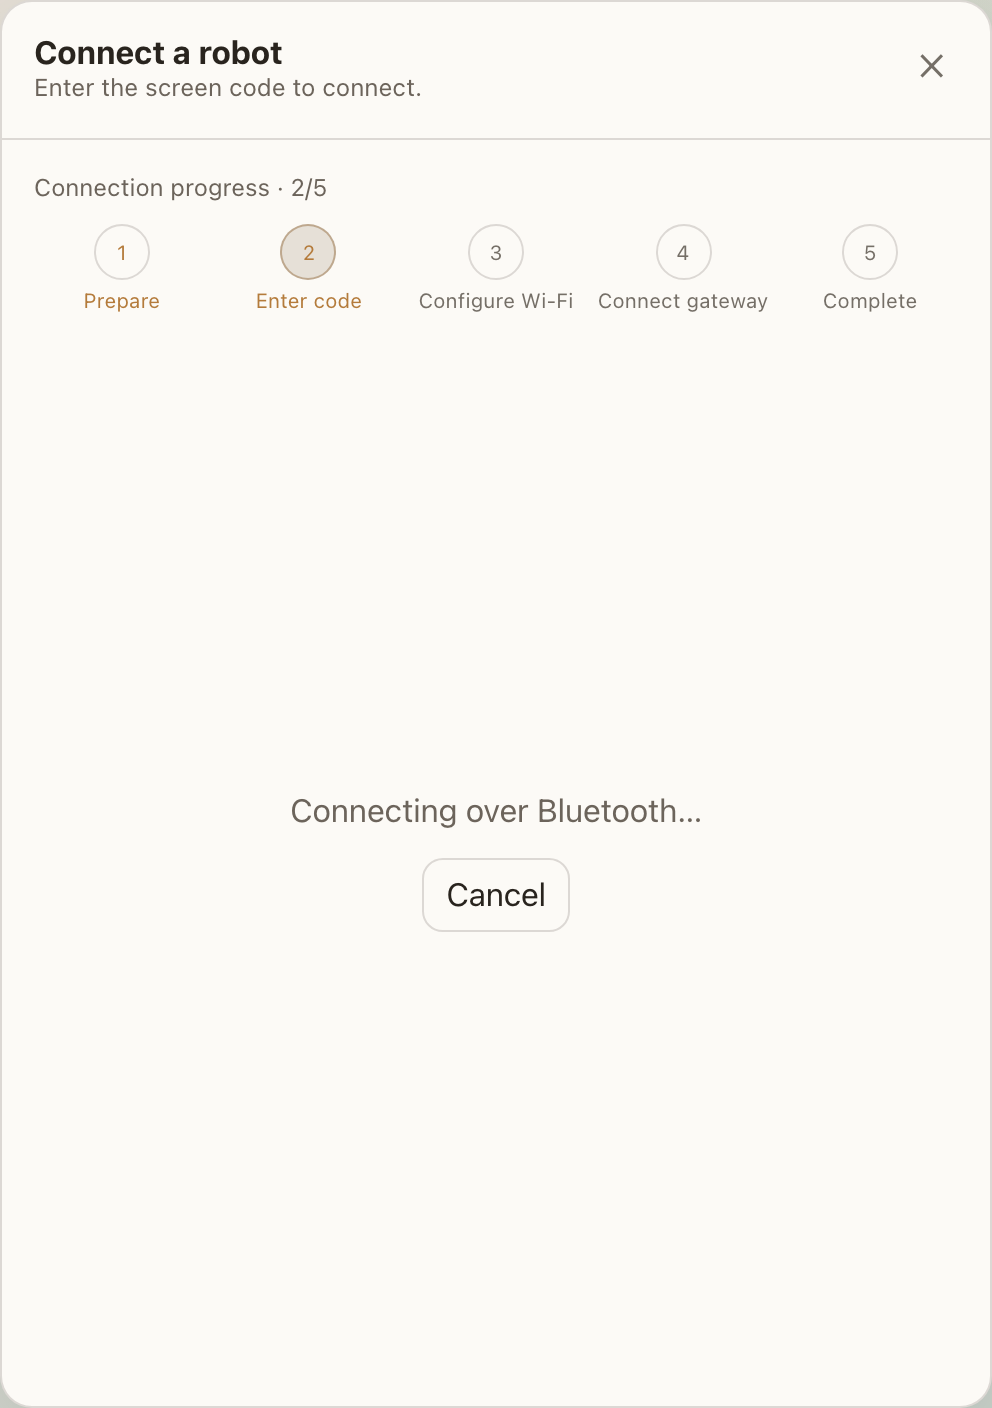
- Robot not found
- Confirm the code is still visible, move the robot closer, enable computer Bluetooth, then cancel and start again.
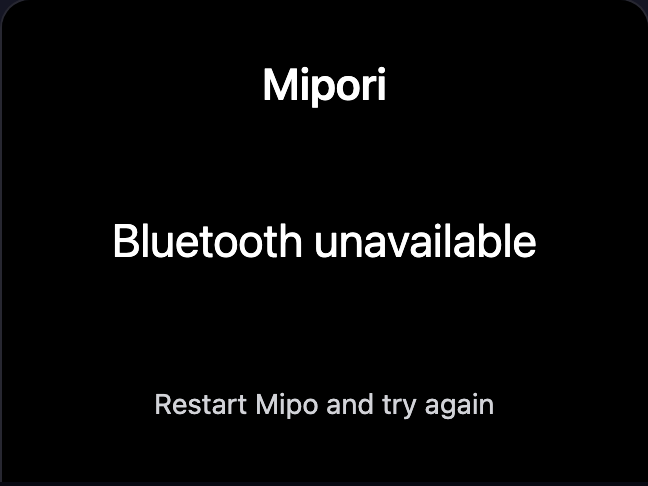
- Bluetooth unavailable
- Enable Bluetooth and grant Mipore permission. If the robot asks for a restart, restart it and retry.
- Code invalid or expired
- Use the code currently on the robot and type all six digits without the display space.
- Bluetooth disconnected
- Move closer, avoid nearby USB 3.0 interference, and open a fresh secure session.
- Wi-Fi joined, Gateway failed
- Use the same LAN, disable AP isolation, and allow local-network/firewall access for Mipore.
- Already paired elsewhere
- Forget it on the previous computer or follow the next page's BOOT front-to-back press-and-hold re-pair flow.
13 · RE-PAIR
Changing computers, missing bindings, and changing Wi-Fi
BOOT is the push-button below USB-C/Type-C. With the screen side as front, press from front to back and hold 5 seconds. Never press sideways into the body.
New computer / missing binding
Press BOOT from front to back, hold 5 seconds, and wait for a new code. Enter it on the new computer; keep current Wi-Fi for a quick rebind.
New router or SSID
Press BOOT from front to back and hold 5 seconds, clear Use current Wi-Fi in Mipore, then choose and submit the new network.
Wi-Fi setup just failed
On the failure screen, press BOOT from front to back and hold 5 seconds to clear rejected Wi-Fi details and generate a fresh code.
Only forget the local record
Prefer Forget/Unpair under Settings > Robots. If online, the robot is also cleared; if offline, only the computer's record is removed.
MIPORE / MIPO-CAT